
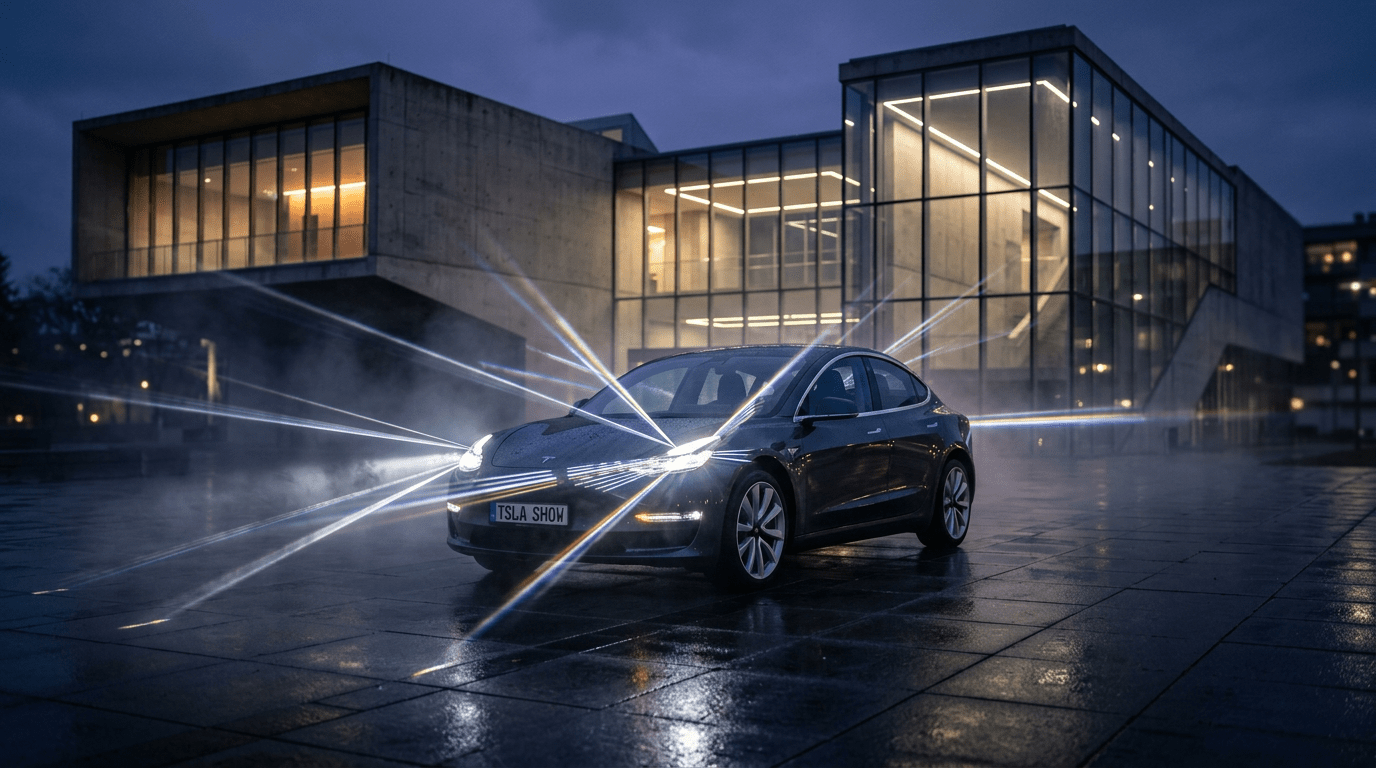
How to Create a Custom Tesla Light Show: The Complete Step-by-Step Guide (Easy vs. Advanced Methods)

By
Dan Capelle

Introduction
One of the most exciting features built directly into your Tesla is the Toybox Light Show. While the factory pre-loaded shows are impressive, running custom shows synchronized to your favorite songs takes vehicle ownership to a whole new level. By placing custom light choreography files inside a /LightShow/ folder on a USB flash drive, your car becomes a fully choreographed light-and-sound stage.
Historically, creating a custom light show required complex lighting software engineering and endless hours of tedious keyframing. Today, there are two distinct paths depending on your technical skill and time commitment: instant AI choreography or manual frame-by-frame sequencing.
Method 1 (The Easy Way): Instant AI Choreography with the Jowua Tesla Light Show Creator
If you want a concert-grade show in under 30 seconds without installing complex software, the Jowua Tesla Light Show Creator is the ultimate web-based solution.
Key Features
- Zero Software Installation: Operates seamlessly in any web browser on desktop or mobile.
- YouTube URL or Audio Upload: Simply paste a YouTube link or drag-and-drop your favorite MP3 or WAV file.
- Drum-Kit Frequency Isolation & Dynamic Contrast: Separates kicks, snares, and hi-hats across the car’s lighting spectrum so headlights flash with crisp rhythmic contrast rather than remaining solid white.
- 360° Hybrid Left-Right Stereo Ping-Pong: Alternates amber flanks (Front Turn + Side Repeater + Rear Turn) on snare hits, with synchronized hero projector headlights and brake lights on heavy downbeats.
- Full Hardware Actuator Automation: Automatically programs windows to lower at the start for optimal exterior sound, folds mirrors during tension build-ups, snaps mirrors open on the drop, and triggers the secret Neon Rainbow LED cycle on the charge port!
- Universal Vehicle Compatibility: Fully supports Model 3, Model Y, Model S, Model X, Model 3 Highland/Juniper (RGB ambient strip support), and Cybertruck (60-LED front lightbar & 52-LED tailgate).
Step-by-Step Guide (3 Simple Steps)
- Provide Audio: Visit the Jowua Light Show Creator and paste a YouTube URL or upload an audio file.
- Select Model & Vibe: Choose your specific Tesla vehicle model and pick your preferred choreography style (Dynamic, Aggressive, Ambient, or Matrix Sweep).
-
Download Package: Click Download Light Show Package to get a pre-formatted
.zipcontaining both.fseqand.mp3files neatly organized inside the required/LightShow/directory.

How to Use & Play Your Jowua Custom Show on Your Tesla
- Prepare Your Drive: Insert a USB flash drive (formatted as FAT32 or exFAT) into your computer.
-
Extract Files: Unzip the downloaded package directly to the root of your USB drive. Confirm the directory structure reads
USB_Drive/LightShow/LightShow.fseqandUSB_Drive/LightShow/LightShow.mp3. -
Run the Show:
- Plug the USB drive into your Tesla's glovebox USB port.
- On the touchscreen, navigate to Toybox → Light Show.
- Select Custom Light Show from the dropdown menu.
- Tap Start Show, step out of the car, close all doors, and watch the performance!
Method 2 (The Difficult Way): Manual Frame-by-Frame Programming with xLights
For lighting professionals who want total control over every single millisecond, you can manually sequence shows using xLights, an open-source stage-lighting program.
The Manual Workflow Steps
-
Environment Setup: Download xLights alongside the official
tesla_xlights_show_folder.zipfrom Tesla's GitHub repository. - Channel Mapping: Import your audio track and manually configure the 48 to 200 interleaved lighting channels.
- Frame-by-Frame Keyframing: Listen to the track and hand-draw light effects, ramps, and flashes across 20-millisecond time slices for every individual lamp, turn signal, and fog light.
-
Actuator Programming: Program hexadecimal byte values for hardware actuators (e.g.,
64= Open,128= Dance,191= Close) while adhering strictly to motor safety limits. -
Exporting: Export your sequence as an uncompressed V2
.fseqfile.
Time Investment: Typically 15 to 30+ hours of precise manual work per song.
How to Validate & Use an xLights Show on Your Tesla
-
Validation Check: Run Tesla’s official Python script via terminal (
python3 validator.py your_show.fseq) to verify channel count (48 or 200), frame rate, and formatting. -
Manual Packaging: Create a root directory named
LightShowon a FAT32 USB drive. Copy both your exported.fseqand.mp3files intoLightShow/, ensuring exact matching filenames (e.g.,CustomShow.fseqandCustomShow.mp3). - Testing: Plug into the glovebox USB port, navigate to Toybox → Light Show, and verify that all channel timings and motorized actuators behave as expected without errors.
Comparison Table: Jowua Creator (Easy) vs. xLights Manual (Advanced)
| Feature | Jowua Light Show Creator | xLights Manual Programming |
|---|---|---|
| Time to Create | ~30 Seconds | 15–30+ Hours |
| Technical Difficulty | Beginner (Zero coding required) | Advanced (Pro audio/lighting skills) |
| Vehicle Support | 1-Click Multi-Vehicle Optimization | Manual Channel Re-mapping |
| Actuator Scripting | Automated Narrative Acts | Manual Byte Programming |
| Best For | 99% of Tesla Owners & Car Meets | Hardcore Light Show Hobbyists |
Conclusion & Recommendation
For 99% of Tesla owners, families, and car meet enthusiasts, the Jowua Light Show Creator offers the ideal balance of instant, concert-grade AI choreography without the steep learning curve. xLights remains a fantastic tool reserved for advanced lighting hobbyists who demand 100% manual control over every frame.
To ensure stutter-free audio playback and prevent file corruption during shows, ensure your vehicle is equipped with a high-speed, reliable flash storage solution like the Jowua High-Endurance USB Drive / Hub, engineered to handle Light Shows, Sentry Mode, and Dashcam recording simultaneously.
Like what you've read? Subscribe to our newsletter and browse our best sellers for more info